
Helloooo all! I am pumped for St. Patty's day! Not really, I just wanna wear green to work tomorrow haha. Anywho, this tutorial is of my galaxy nails that I did for Nail Art February challenge. I hadn't done galactic nails since I first started doing nail art (sadly) and they were awful, haha. I wish I had a picture of them, I'd embarrassingly post them. But here are my pictures and instructions on how to! First though, how beautiful is the base I used for them. I could have just used the base since they it looks like an endless starry night. ♥
Zoya Storm. ♥ Scattered holo black. Easy application, opaque in one coat. Zoya is literally in my top 3 brands.


Look at that beautiful holo. ♥


Okay, tutorial time!
GALAXY HOW TO:

Gather your materials. You'll need:
- Base and topcoat: I used Duri Rejuvacote and HK Girl Topcoat
- Base color: I used Zoya Storm
- Colors for nebulas: White, light pink (OPI Pink Friday), shimmer blue (OPI Into the Night) or dark purple, holo color of choice (Color Club Kismet)
- If you'd like a holo fine glitter topper: China Glaze Fairy Dust
- Make up sponge
- Tweezers or a steady hand for dabbing
- Clean up brushes
- Acetone

Step One: Apply base coat and let dry.

Step Two: Apply base color, this is two coats. Clean up around edges with acetone and clean up brush if needed.

Step Three: Gather your nebula colors and unscrew the tops to get ready to blob them.

Step Four: Pull off chunks of your make up sponge. No bigger than your nail itself, and pick up the fist one with your tweezers. You can use your fingers, if you think your hand is steady enough.

Step Five: Dab your fist chunk in white polish. Then blot it out, you don't want it to be extremely opaque.

Step Six: Dab it in a curved motion from one side of your nail to the other.

Step Seven: Dab and blot another chunk in your light pink polish.

Step Eight: Slightly dab the light pink toward the middle of the white nebula.

Step Nine: Dab and blot your dark shimmery polish. Leave a little more on this sponge.

Step Ten: Sponge the dark shimmer all around the outside of the nebula. To give it a more deeper effect.


Step Eleven: Last, but the best part. Dab and blot your holo polish with a new sponge.

Step Twelve: Dab the holo in the middle and around the white of your nebula. This gives your galaxy nails a perfect atmospherical look. This is the secret, holo polish makes everything look amazing. Add topcoat and you're done! You can add white dots or draw stars, add planets, or more holo glitter if you'd like!
Here is my finished mani! You can see the holo peeking through.


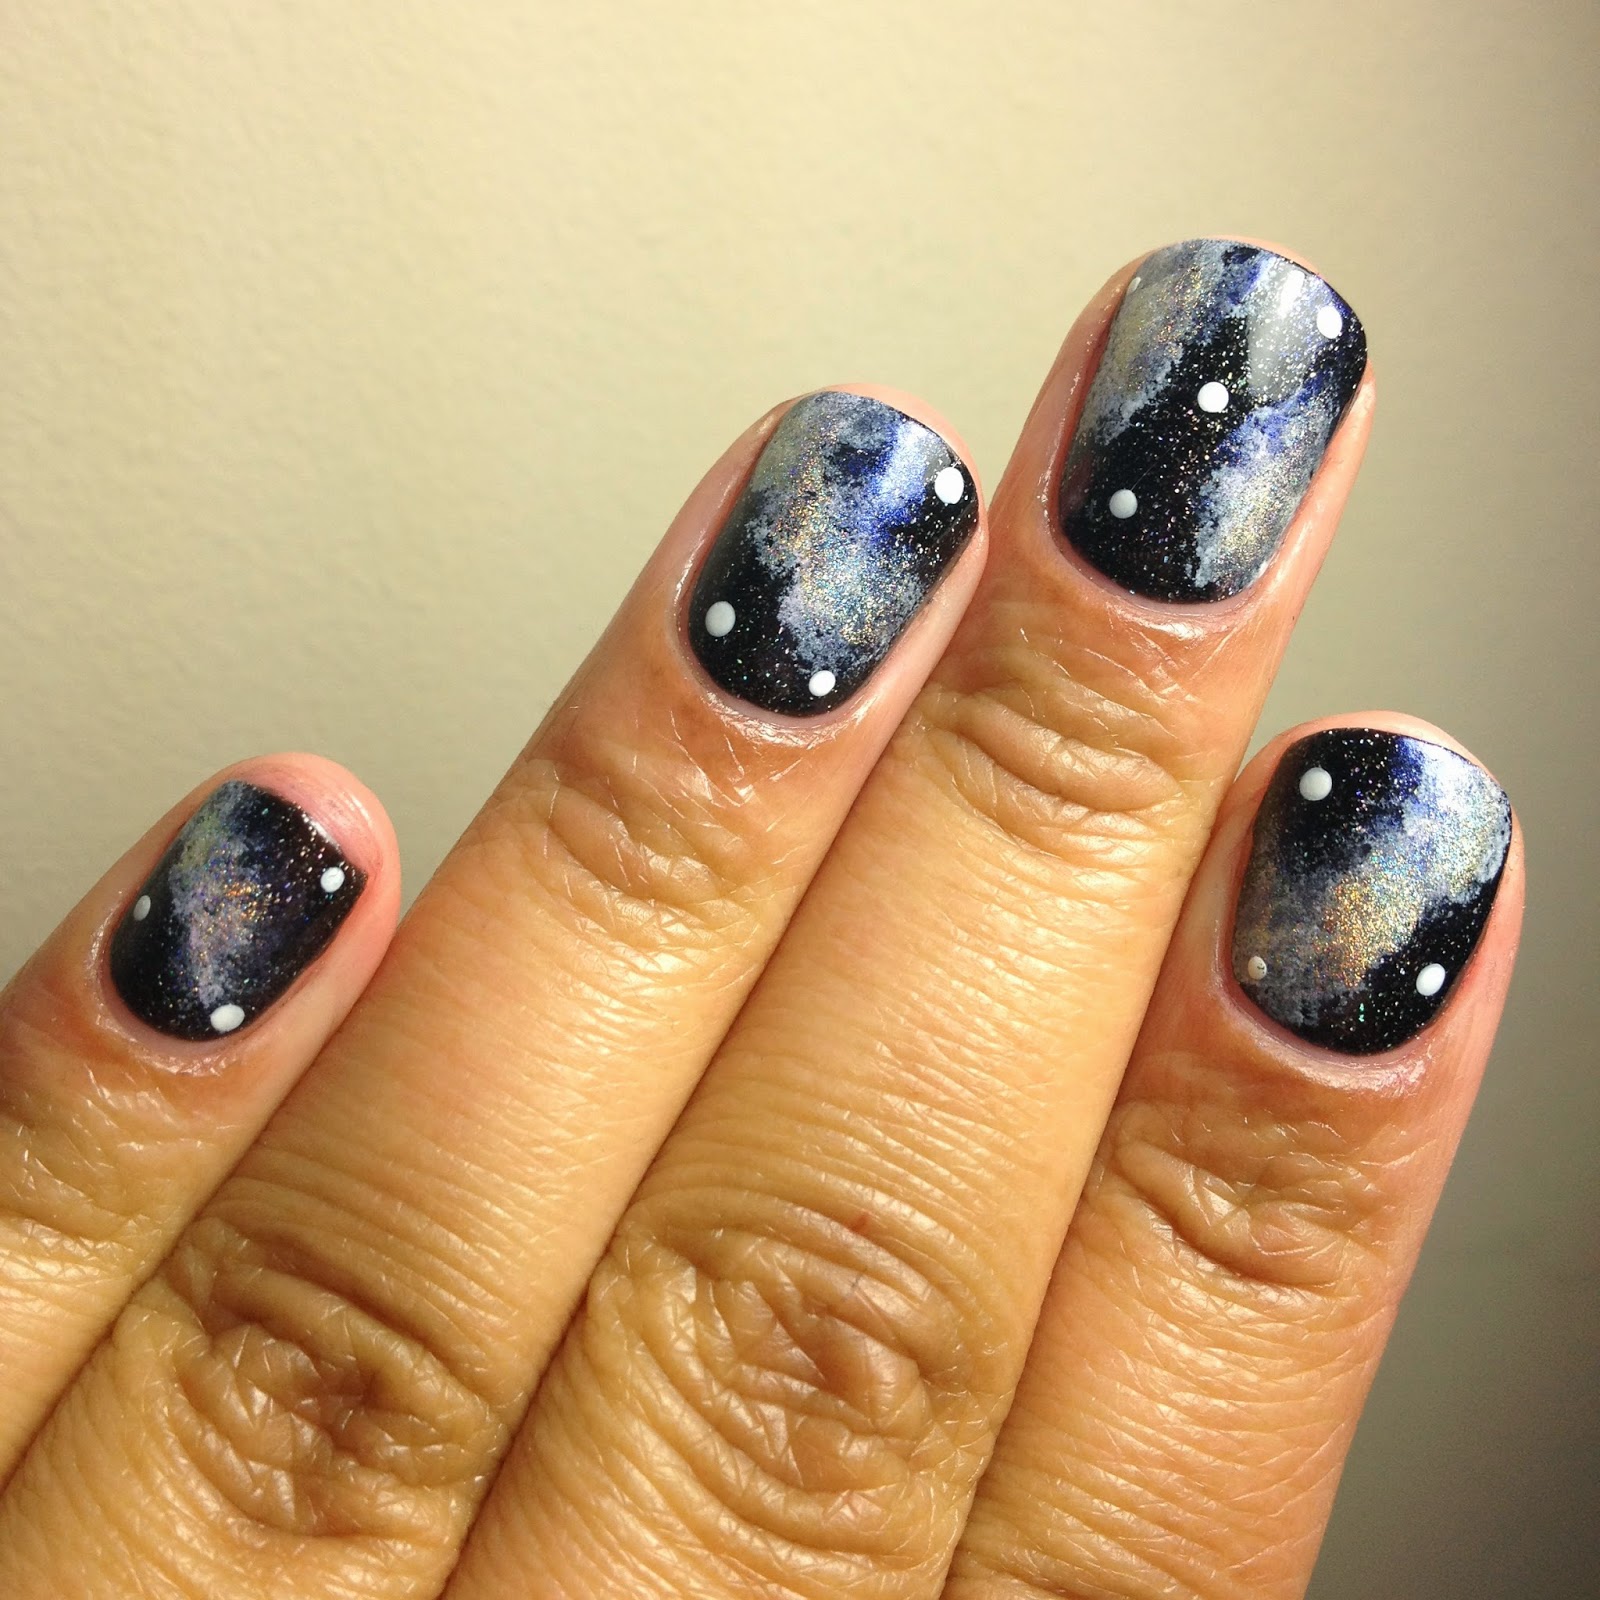

I loved doing these so much. They look so much more realistic then the first time I did them.
Hope you enjoy these! If you do them make sure you tag me so I can see! ♥

Oh my gosh I love dabbing holo in that. Never thought about it!! It's like a super nova or something. It's been a year since I have done galaxy nails I definitely need to try again.
ReplyDeleteHy!
ReplyDeleteI couldn't find your e-mail adress, but I nominated you for the "Liebster Award". Check out my recent post to get more information!
http://frankiehuntersnails.blogspot.co.at/2014/04/liebster-award-this-time-in-english.html
Hello Frankie! Thanks so much for nominating me! Do you have an Instagram account as well? I wanna follow you on there as well. But my email address is:
Deletehellolaurenparker@gmail.com
This comment has been removed by the author.
ReplyDelete